

Adobe Illustrator Blend Tool Tricks
Introduction to Blend Tool in Abode Illustrator
Blend tool is one of the most significant tools of Adobe Illustrator as it is utilized to make effects from various shapes and lines utilizing colors, paths or distance, the blend tool mixes any two items easily and effectively, and the user can mix open paths that make a spotless entry between items or utilize the blend tool for gathering a section of colors spread uniformly and at whatever point the designer utilizes blend, the things that are blend are viewed as a single item and can be altered later as per the requirement.
How to Use the Blend Tool in Adobe Illustrator?
We can use the blend tool in two different ways. The 1st way is to use the tool from the toolbox menu. In this method, the blend tool works with default properties and calculates the number of steps between the object to create a clean passage. We select the two different created objects and click on the blend tool.
The 2nd method involves using a blend tool from the Options menu. We click on the blend tool and select the Make command. Next, we have the Blend Options present in the options menu. These lending options required different settings to create a proper effect between the objects. When we choose Blend from the Options Menu, we have Blend Options. In the Blend Options, we have the following settings-
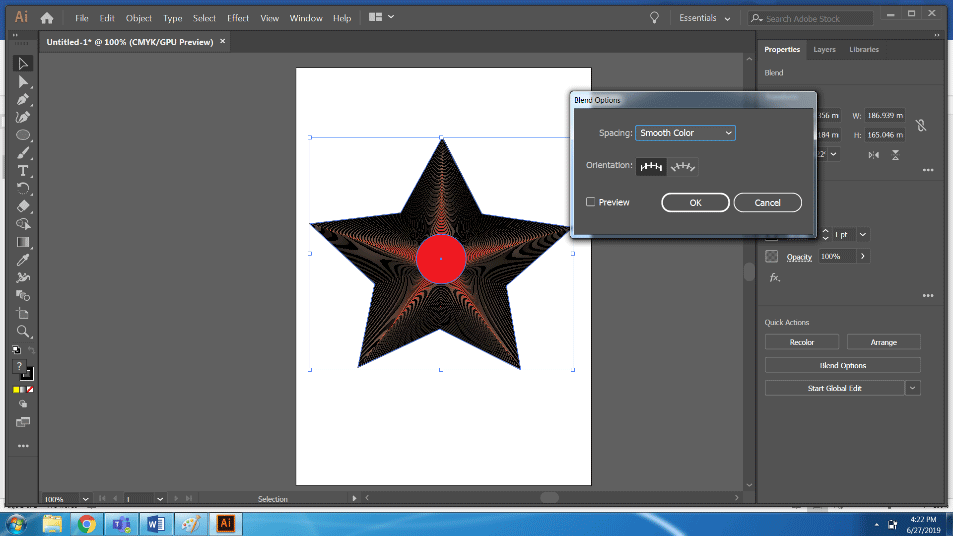
- Smooth Color– This feature helps the user to create default steps between the objects for the blends. The feature is basically used when we use two filled objects with pattern or gradient fills and make a blend of those objects. In this case, the tool calculates the number of steps and creates a smooth and clean blend.
- Specified Steps- This feature is a very useful and smart function to use while blending objects. The user can easily mention the number of steps required between the two objects to create a blend.
- Spacing– this feature tells the user about the total number of steps used for blending objects.
- Orientation– This function is required to tell the user about the properties of the blended shapes.
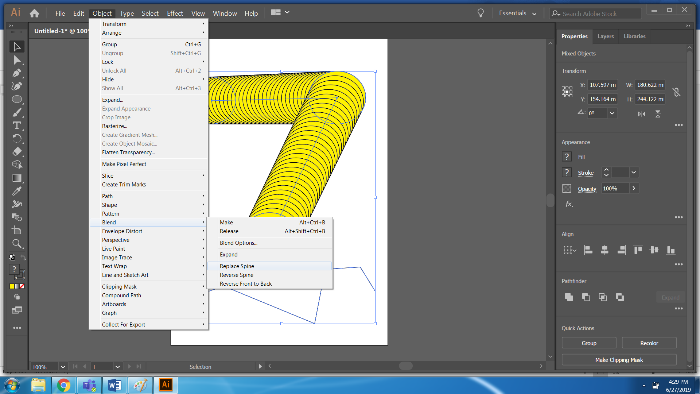
- Replace Spline– This function helps the user to modify the path of the blended objects. By default, when the user uses the blend tool, the path created is a straight line. But the user can change its path to any draw vector path, and the blended objects will align to the new path using the Replace Spline Option. Moreover, this spline can be reversed using the Reverse Spline Option.
- Reverse Front to Back– When a user creates a blend and wants to reverse its arrangement, he may use this option and reverse the whole blended shapes.
- Expand– This Function helps in creating anchor points to the newly blended shapes, and each blended shape can be modified using the direct selection tool.
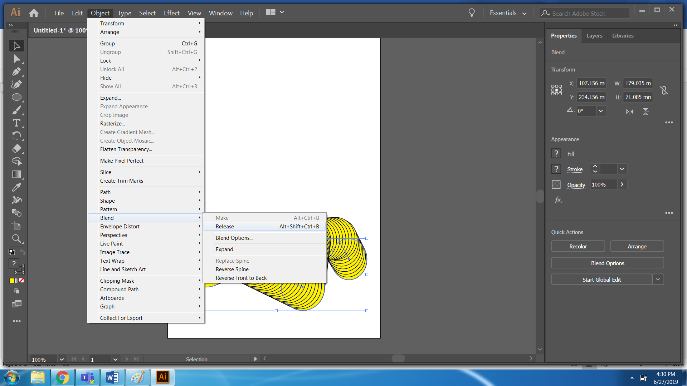
- Release– This tool is just the opposite of the Expand tool, and it helps the user to remove the blended objects and bring the original objects to the screen.
Steps to Use a Blender Tool in Adobe Illustrator
Below are the different steps for using the blender tool in adobe illustrator are as follows:
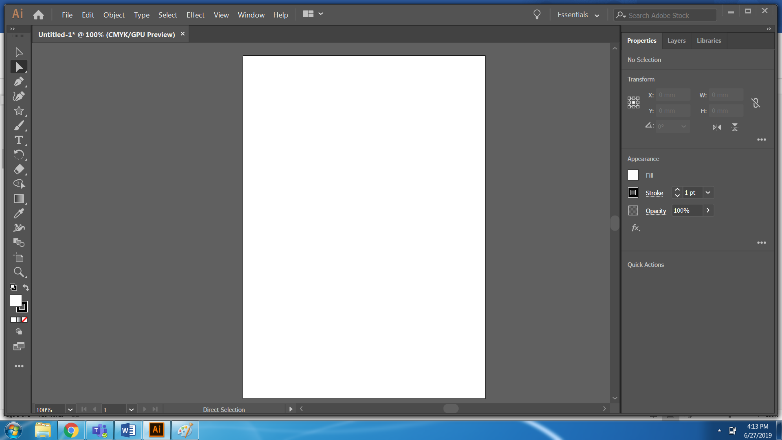
Step 1: Create a new File.
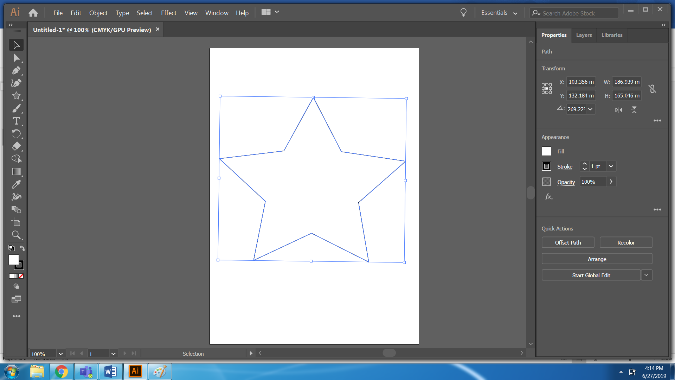
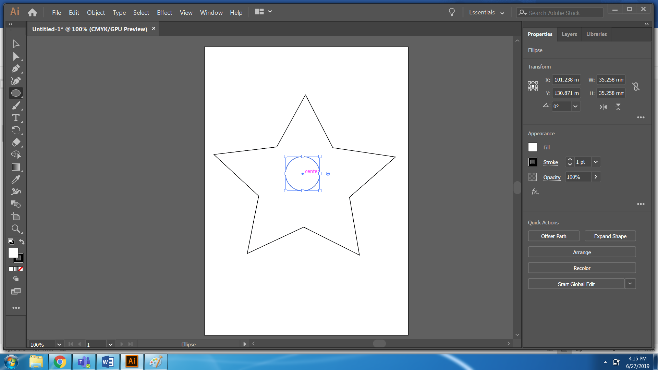
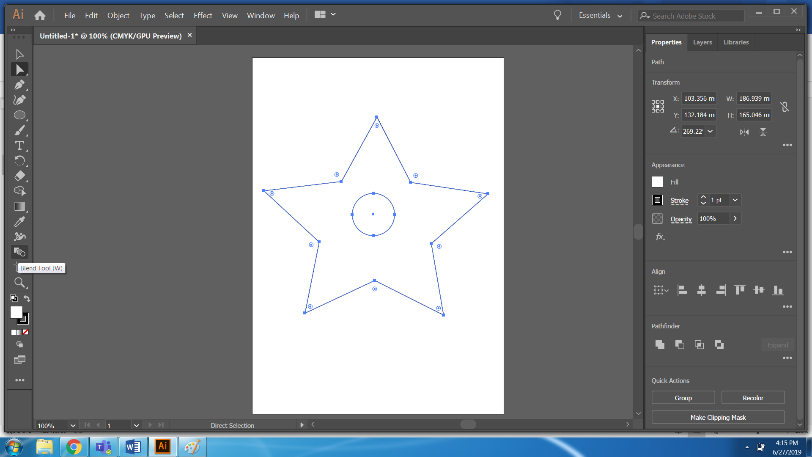
Step 2: Create a star and a Small Ellipse.
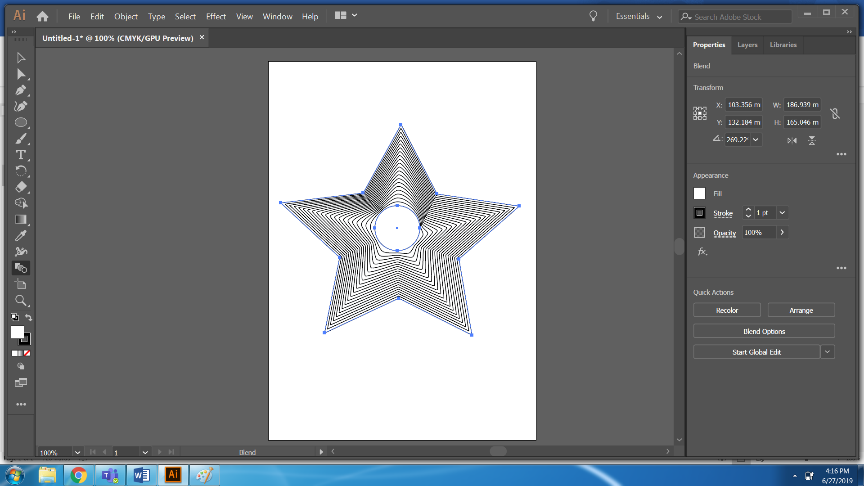
Step 3: Select both shapes and use the Blend Tool from the Toolbox. This the default Blend Tool.
Step 4: The Blended Objects will look like this.
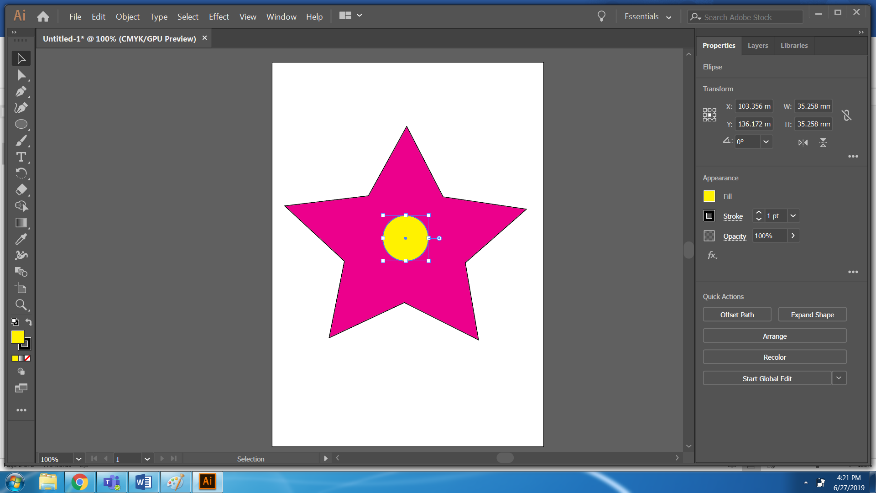
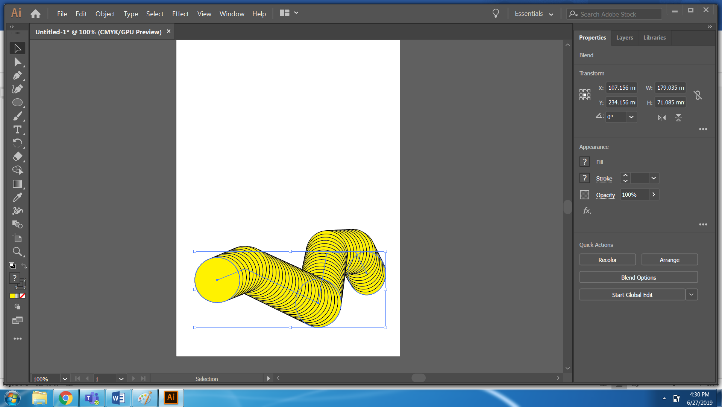
Step 5: Now, Use Pink Color for the Star and yellow Color for the circle and use the Blend tool again. We can change the settings of the blended objects using the BLEND OPTIONS.
Step 6: After this, select both objects and use Blend Tool. Using the Blend Options use, Smooth Colors Function.
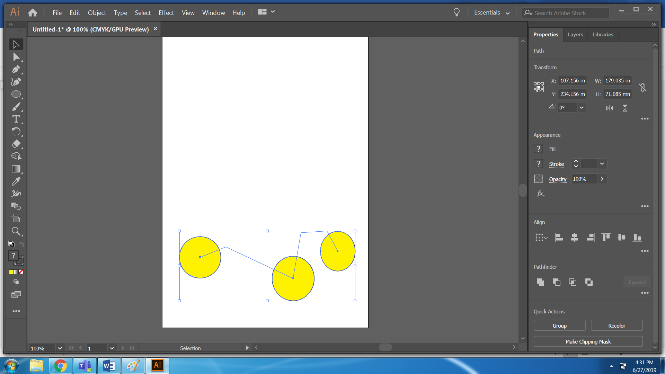
Step 7: Now, Create a new file. Draw three ellipses with any color.
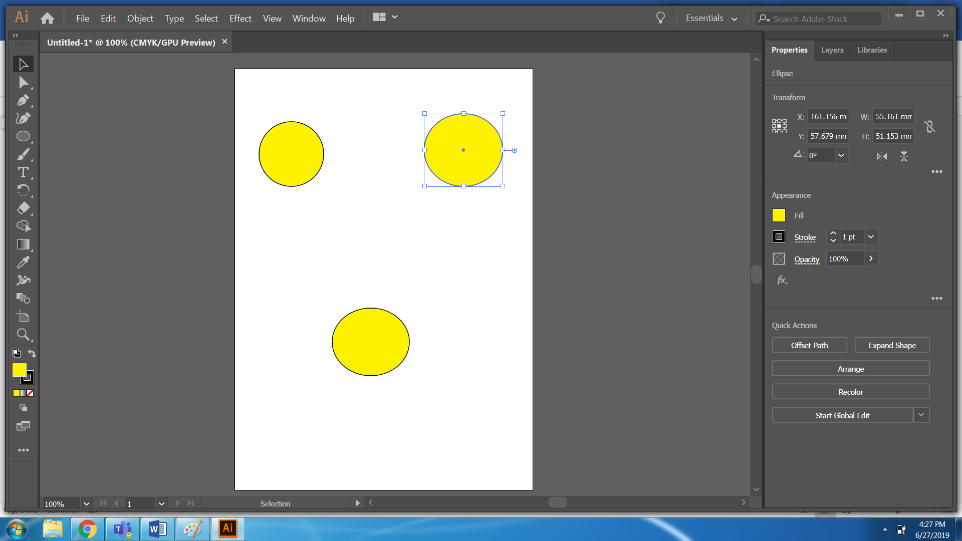
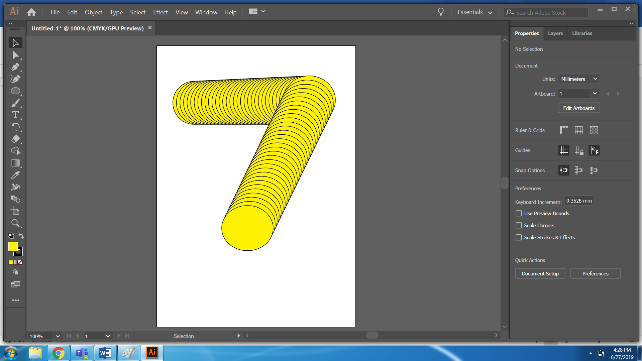
Step 8: Select all three Circles and use the Blend tool.

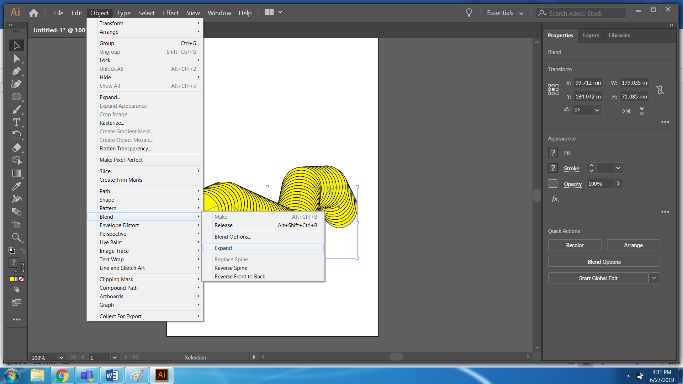
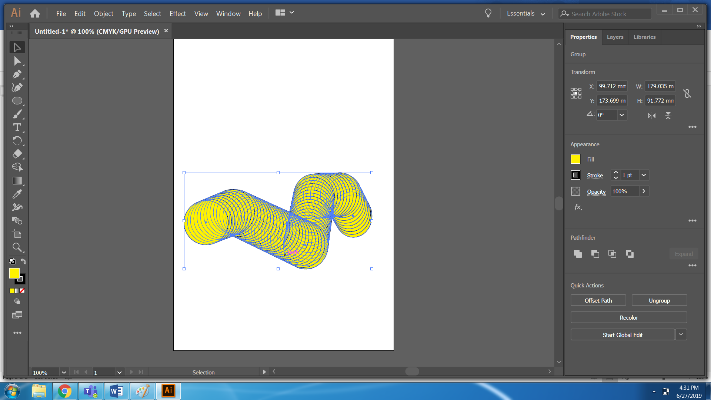
Step 9: Draw a path using the pen tool.
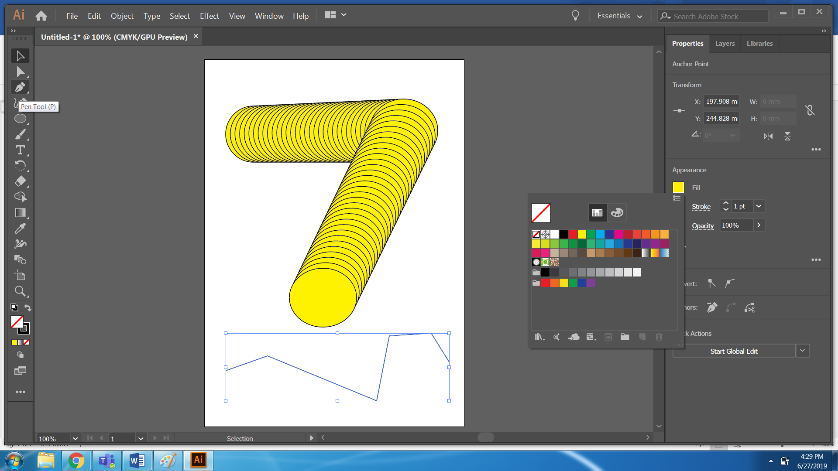
Step 10: Use the Replace Spline Tool from the Option> Blend> Replace Spline.
Step 11: Use the Release option to get the original Objects.
Step 12: Similarly, to get the anchor points of each and every blended object, use the Expand Option.
Conclusion
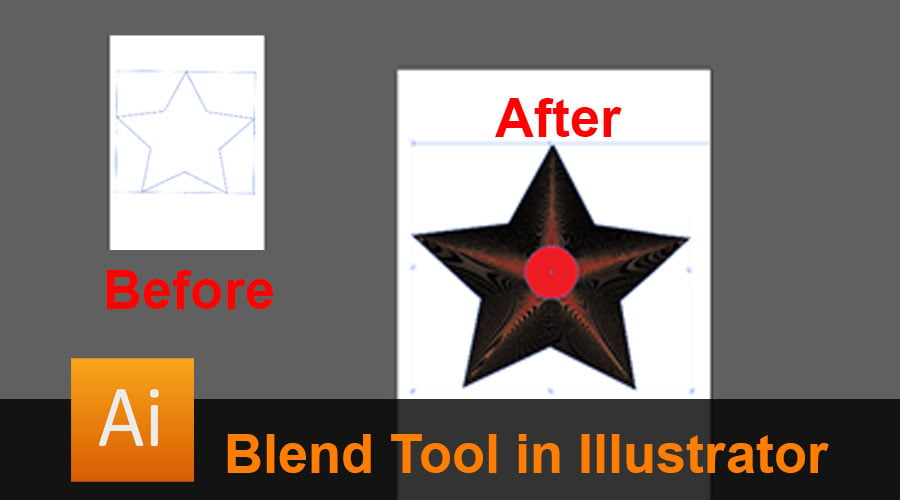
The Blend tool is an easy way to create different effects with the shapes. It has many options and sub-functions. In the above example, we have seen the different options of the Blend tool work, which gives results as desired.
Recommended Articles
This has been a guide to the Blend Tool in Illustrator. Here we discuss the Concept and how to use the Blend Tool in Illustrator. You can also go through our other Suggested Articles to learn more –
- Adobe Photoshop Tools
- Line Tool in Photoshop
- CorelDRAW Tools
- Blender Tools
Adobe Illustrator Blend Tool Tricks
Source: https://www.educba.com/blend-tool-in-illustrator/
Posted by: christensenwele1946.blogspot.com
0 Response to "Adobe Illustrator Blend Tool Tricks"
Post a Comment